
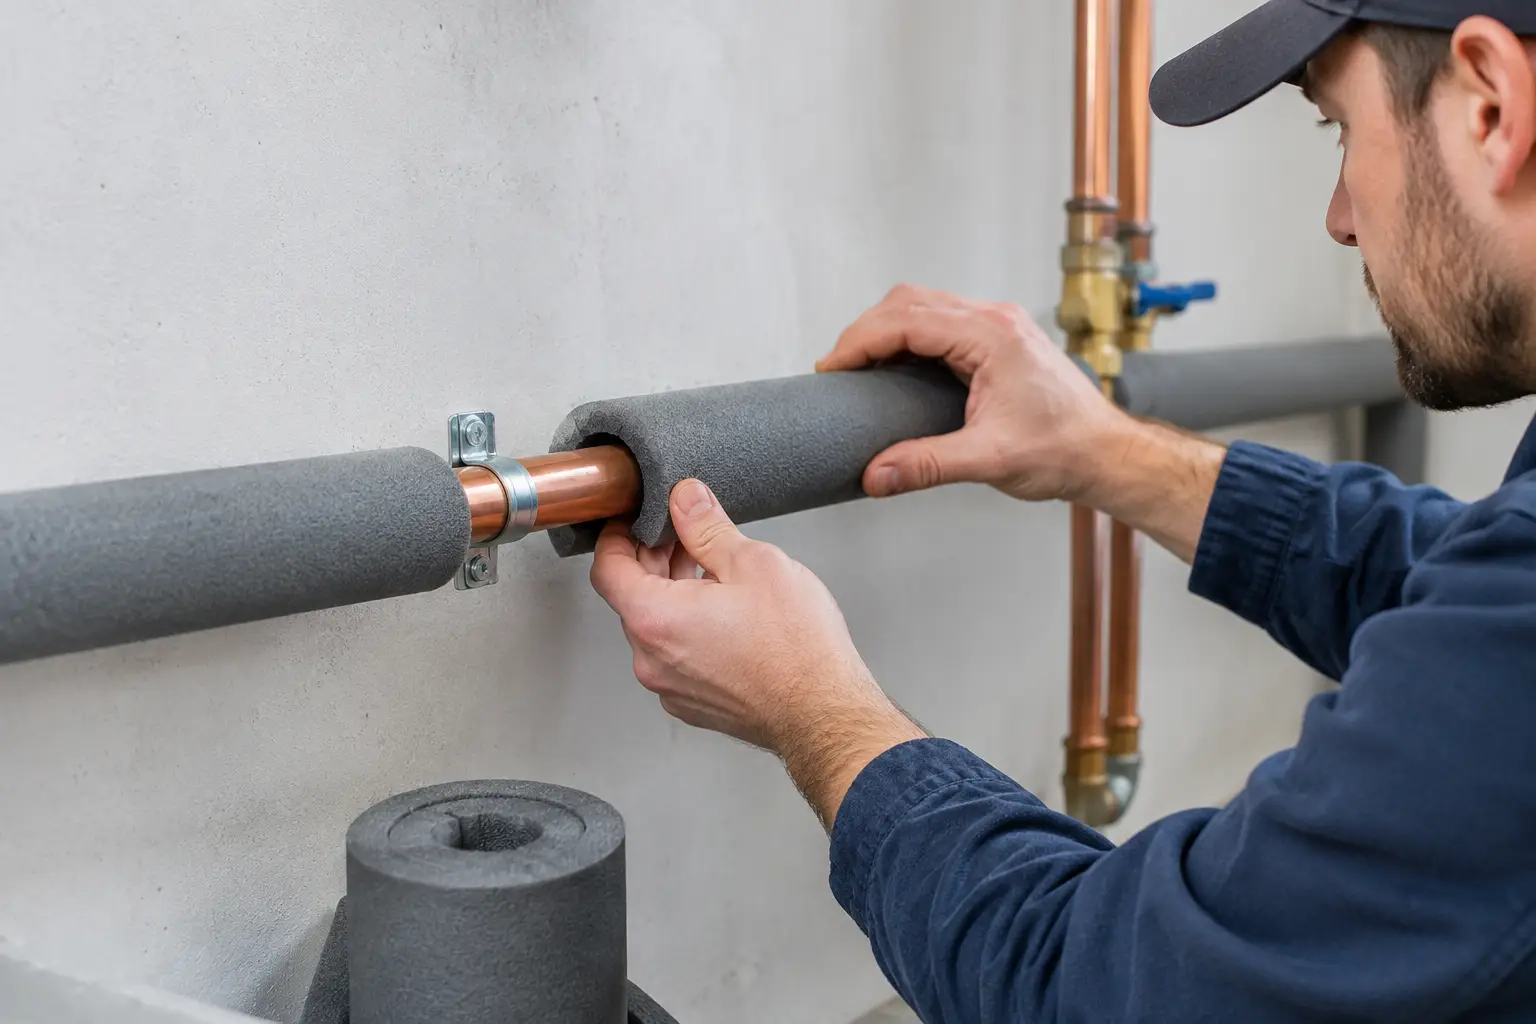
A burst pipe rarely starts with a dramatic warning. In many UK homes, it begins with an unprotected section of pipe in a cold loft, garage, cupboard or outside wall. Learning how to insulate exposed water pipes can reduce heat loss, help prevent freezing and protect your property from an avoidable leak.
Pipe insulation is a practical job for a confident DIYer, particularly where pipes are easy to reach and in good condition. But insulation cannot fix a leak, a poorly supported pipe or a heating system fault. Knowing where the line is will help you make the right call before cold weather creates a more expensive problem.
Why exposed pipes need insulation
Water pipes lose heat quickly when they run through unheated parts of a property. Lofts, cellars, garages, under-floor voids and external utility cupboards can become cold enough for standing water to freeze. As water freezes, it expands. That pressure can split a pipe or damage a joint, often becoming obvious only after the thaw.
Hot-water pipes have a different issue. Insulating them helps retain heat between the boiler or cylinder and the tap, so you waste less energy waiting for water to warm up. It can also reduce the risk of burns from unexpectedly hot pipework in accessible areas.
Not every visible pipe needs the same level of protection. A short section in a warm airing cupboard is lower risk than a long run beneath a draughty suspended floor. The priority is pipework exposed to cold air, particularly where it is close to an outside wall, vent, hatch or uninsulated roof space.
How to insulate exposed water pipes: assess first
Before buying materials, identify whether the pipe carries cold water, hot water or central-heating water. Most foam pipe lagging is suitable for standard domestic hot and cold pipes, but check the packaging for its temperature rating and intended use.
Measure the diameter of the pipe rather than guessing. Common domestic pipe sizes include 15mm and 22mm, and lagging must fit closely to work properly. Insulation that is too loose leaves gaps; insulation that is too tight can split along its seam and expose the pipe.
Check the pipework carefully as you go. Look for green staining on copper, corrosion, damp patches, drips around compression fittings and any signs that a plastic pipe has become brittle or poorly supported. Insulating damaged pipework can conceal a developing issue rather than solve it.
Also find your internal stopcock before starting. If a pipe does burst, turning off the mains water quickly can limit damage. If you do not know where it is, take the time to locate it now, not during an emergency.
Choosing the right pipe insulation
For most accessible internal pipes, pre-slit foam tubes are the simplest option. They are inexpensive, easy to cut and available in different bore sizes and wall thicknesses. Choose a thicker grade for very cold areas such as lofts, garages and unheated outbuildings.
Foil-backed insulation may suit some heating pipes where heat retention is the main aim, while mineral wool products can be useful in specialist applications. These materials need careful fitting and should not be compressed, as squashing insulation reduces its effectiveness.
Outdoor pipework needs more than basic indoor foam. Use insulation designed for external conditions and protect it from rain, sunlight and physical damage with suitable weatherproof covering or boxing. Any external boxing must allow access for inspection and repairs. Do not seal pipework into a damp enclosure where leaks cannot be spotted.
Avoid insulating over valves, meters, electrical components or boiler flues. Flues and their clearances are safety-critical. If pipework runs close to a boiler, cylinder, consumer unit or other equipment you are unsure about, ask a qualified professional to assess it.
Fitting pipe lagging properly
Start with clean, dry pipework. Wipe away dust and condensation so the insulation sits neatly, then cut the lagging with a sharp knife or scissors. Cut sections slightly longer than required where possible and trim gradually for a close finish.
Open the pre-slit tube and press it over the pipe, making sure the slit closes fully. Secure joins and awkward sections with suitable insulation tape or cable ties, but do not pull ties so tightly that they compress the foam. Work along the whole exposed run rather than stopping at the easiest sections.
At elbows and tees, cut neat angled pieces so there are no bare sections. It takes a little longer, but gaps at joints are often where cold air reaches the pipe most easily. For pipes that pass through walls or floors, insulate as close to the opening as access allows.
Leave valves accessible. You may be able to use removable insulation covers around some valves, but you should always be able to turn the stopcock or isolation valve without dismantling half the installation. Marking the stopcock with a simple label is useful in shared homes, rental properties and larger buildings.
Do not overlook lofts, garages and outdoor taps
A loft is one of the most common places for frozen pipes because it is colder than the rest of the house. Loft pipe insulation should be continuous, including pipework near tanks, eaves and loft hatches. If you have loft insulation, do not bury pipes beneath it without considering access and ventilation. The aim is to protect the pipe while still allowing you to inspect it.
For a garage or outbuilding, insulating the pipe alone may not be enough if the space is regularly below freezing. Consider whether the water supply can be isolated and drained during very cold periods, particularly for buildings that are not used every day.
External taps need specific attention. Isolate the supply using the internal shut-off valve if one is fitted, open the tap to drain residual water, and use an outdoor tap cover during winter. If there is no isolation valve, or the external pipe is damaged, a plumber can advise on a more reliable setup.
When insulation is not enough
Pipe lagging reduces risk, but it does not guarantee that pipes will never freeze. A poorly heated home, prolonged freezing weather, a failed boiler or a serious draught can still cause problems. Keep your heating at a low, consistent temperature when you are away in winter, following your boiler manufacturer's guidance.
Call a plumber rather than relying on DIY insulation if you notice any of the following:
- A pipe is already leaking, corroded, cracked or swollen.
- You cannot identify whether the pipe is water, gas or heating pipework.
- Pipes are hard to reach beneath floors, behind walls or inside a ceiling void.
- Your outside tap will not isolate or drain.
- You have repeated frozen-pipe issues despite adding insulation.
If a pipe has frozen, turn off the water supply if possible and open the relevant tap. Do not use a blowtorch, naked flame or high-heat tool to thaw it. Gentle warmth from the room and a warm cloth may help on accessible pipes, but a suspected burst, no water flow or water staining calls for prompt professional help.
A sensible job for landlords and property managers
For landlords, exposed pipe insulation is part of sensible winter maintenance. Vacant properties are particularly vulnerable because heating may be turned off and a leak can go unnoticed for days. Check pipework before winter, make sure tenants know where the stopcock is, and deal with draughts around service penetrations where cold air enters.
Property managers should also keep a record of isolation valves, previous leaks and known cold spots. That makes it easier to brief a plumber quickly if an urgent repair is needed. Where access is difficult or several flats share services, a professional survey is often more efficient than repeated reactive call-outs.
For straightforward work, take your time and fit the insulation closely. For pipework that is damaged, inaccessible or repeatedly freezing, finding a trusted local plumber through VeriTrade UK gives you a safer route to getting the cause checked as well as the symptom. A small amount of prevention before the next cold spell can spare you a far bigger disruption later.